This image was taken the day we went to Edinburgh Uni to learn about Flash Photography. The original is on the left. I optimised first in Adobe Camera Raw (ACR).
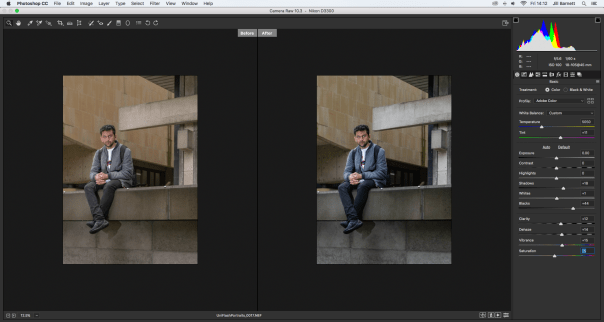
f 5.6, 1/60, ISO 100
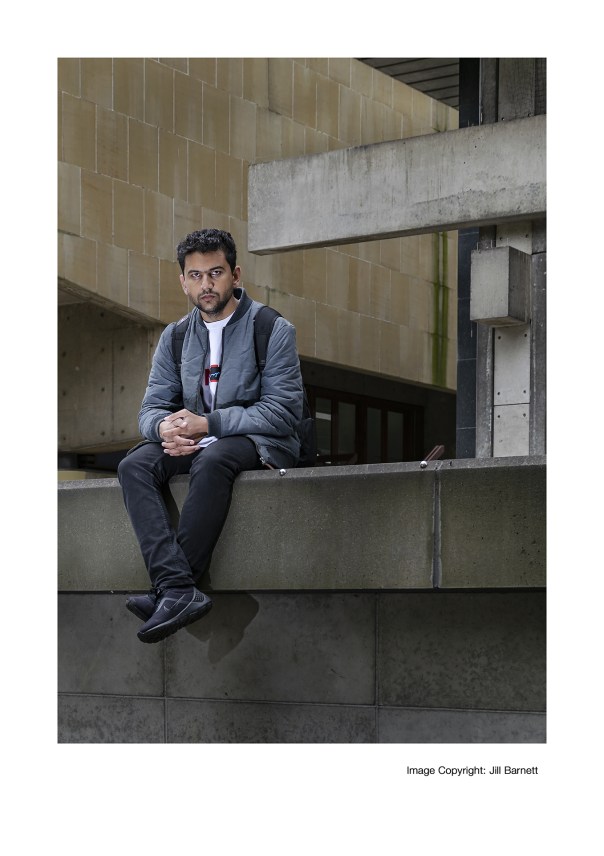
- Duplicate the background layer and apply an image appropriate USM (Unsharp Mask)
- Enhance image further with some dodge and burn sculpting.
- Apply a High Pass sharpening filter for print output. Now employ Image Size and Canvas Size to resize your photograph to A4 with a white border of at least 2cm on the narrowest sides.
- In the bottom right corner of the frame introduce text using the Text tool. This will state Image Copyright: Your Name and must be accurately aligned with to the bottom right corner of the image.
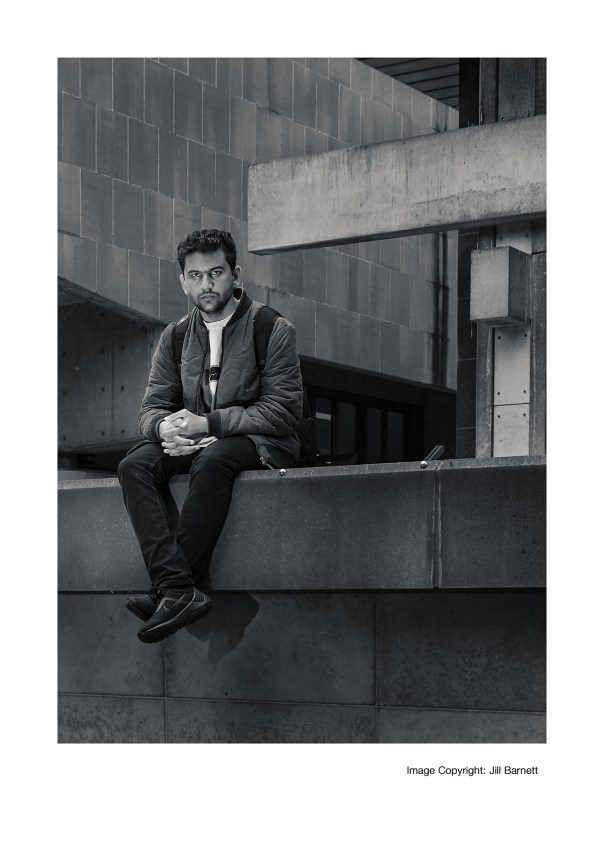
- Using the unflattened .PSD from task one, create a selectively enhanced monochrome version of the image using the Black and White adjustment layer, then tone using the Gradient Map Photo Filters.
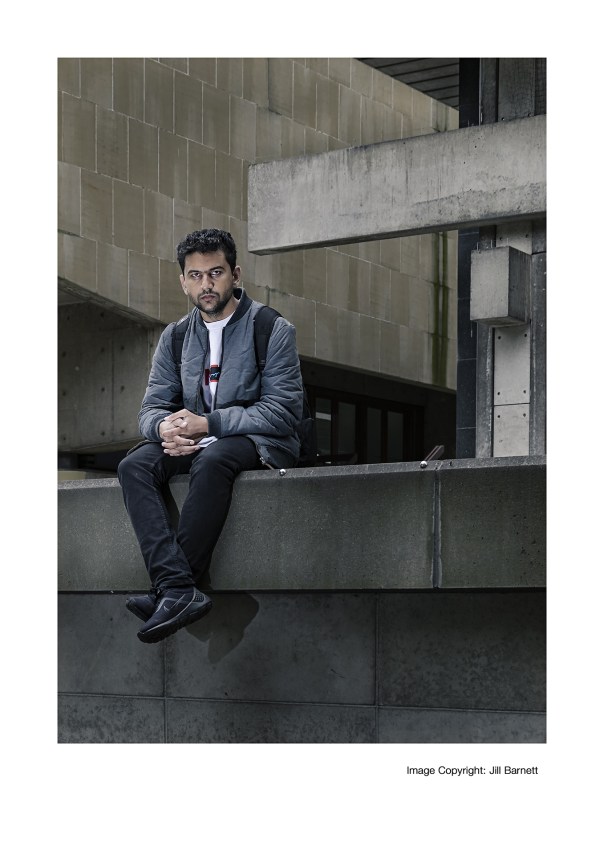
- Further enhance this using a combination of the Opacity slider and a Layer Mask to create a considered, desaturated version of the photograph. With masking, try to draw the viewers’ attention to the main subject/focal point via a very subtle colour pop.

You must be logged in to post a comment.